[UPDATE] – 04/06 After actually using my own pattern I realized there were some mistakes in the design and the way I drew the template, so please use the revised pattern below.
View/Print/Download the revised pattern here (pdf)
Please make sure when printing, your printer setting is “Scale 100%” or “Actual Size” or that “Fit to Frame” is unchecked, otherwise it will be too small. The easiest way to tell it was printed correctly is that the words around the perimeter will be missing or cut off (I promise, that was on purpose to save ink considering you’ll be cutting those parts off anyway). When in doubt, Google “how to print a pdf actual size”.
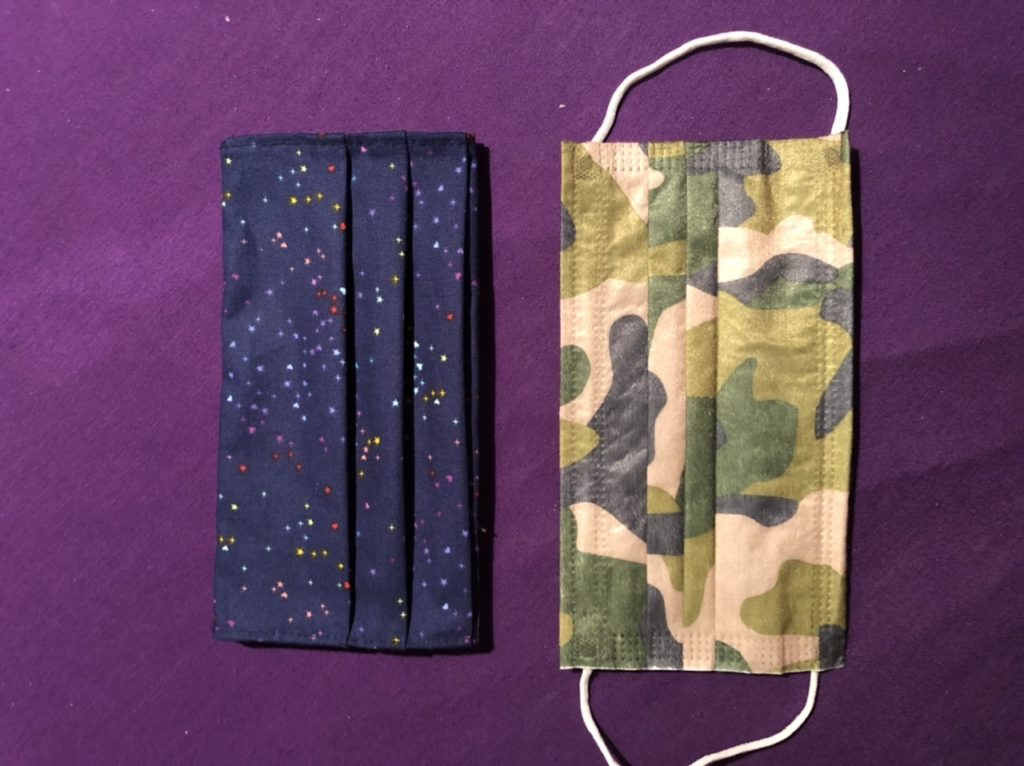
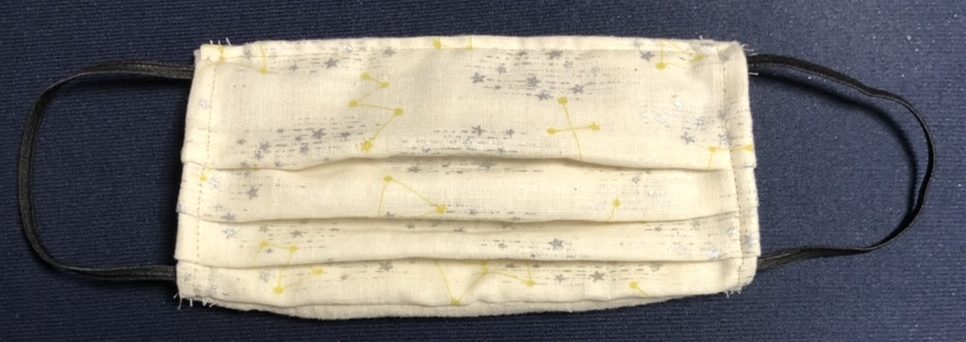
Now that the CDC recommends everyone wear a cloth face covering when going out in public, here’s my attempt at a pattern for a pleated surgical-style face mask. It’s taken from a standard size surgical mask’s measurements, 17.5cm x 9.5cm (7″ x 3.75″). I would consider this an intermediate-beginner project, with knowledge of how to use a sewing machine a big advantage, but since we all have some more time on our hands while we shelter in place and are physically-distancing from each other, there’s no need to rush. And practice makes perfect, so it would be good to have multiple masks so you have a few spares while used ones are in the wash. Or if you want to donate them to hospitals or facilities where PPEs are in high demand, please do so.
There are two pieces to the pattern I made: the template for the mask itself, and a guide for the different measurements you’ll need to make while sewing. I originally designed this as a covering for a surgical mask to 1) help extend its usage, 2) not have to sew ear loops or ties, and 3) have the wire that’s built into surgical masks help fit the mask to your face better, but you can make whatever type of face mask you prefer from this. I also thought the guide would be helpful instead of having to sit with a ruler and make measurements, that it can make them for you and speed up the process especially if you plan on making multiple masks.
Some terms I use in my instructions that you might not be familiar with:
- Valley fold and mountain fold: an origami term for the two types of folds to use. The valley fold is V-shaped, whereas the mountain fold is sort of A-shaped.
- Back stitch: a stitch that is primarily used in embroidery, but makes for a very secure stitch for sewing. You can use single strand of thread or double-up the thread, but even as a single strand it is very strong.
Best type of fabric to use: Heavy weight quilters cotton. Woven fabrics (as opposed to knit fabrics), such as batik. A good way to check: if you hold the fabric up to the light, the less light you can see through the fabric the better. I suggest having two different colored fabrics, so it’s easy to see which side touches your face and which side faces outwards.
Tips and Tricks:
- No pins? Use masking tape to tape down your pleats. You can sew right over it and then peel the tape off once you’re done.
- Hand sewing? Using a back stitch is a very secure way to sew.
- Want to add a shaping wire? Consider using an un-used twist tie. I would sew a box around the wire to prevent it from sliding around. Remove the plastic or paper covering it if you think it might irritate you.